Here’s the thing guys. We understand that COVID-19 has changed the way we interact and conduct meetings. With companies like Amazon allowing remote work until next year, and Uber even extending that period until at least June of 2021, being on a video call is here to stay. But there are some rules of engagement for video. And you could be breaking them.
.jpg?width=400&name=Your-Nose-Featured-Image%20(1).jpg)
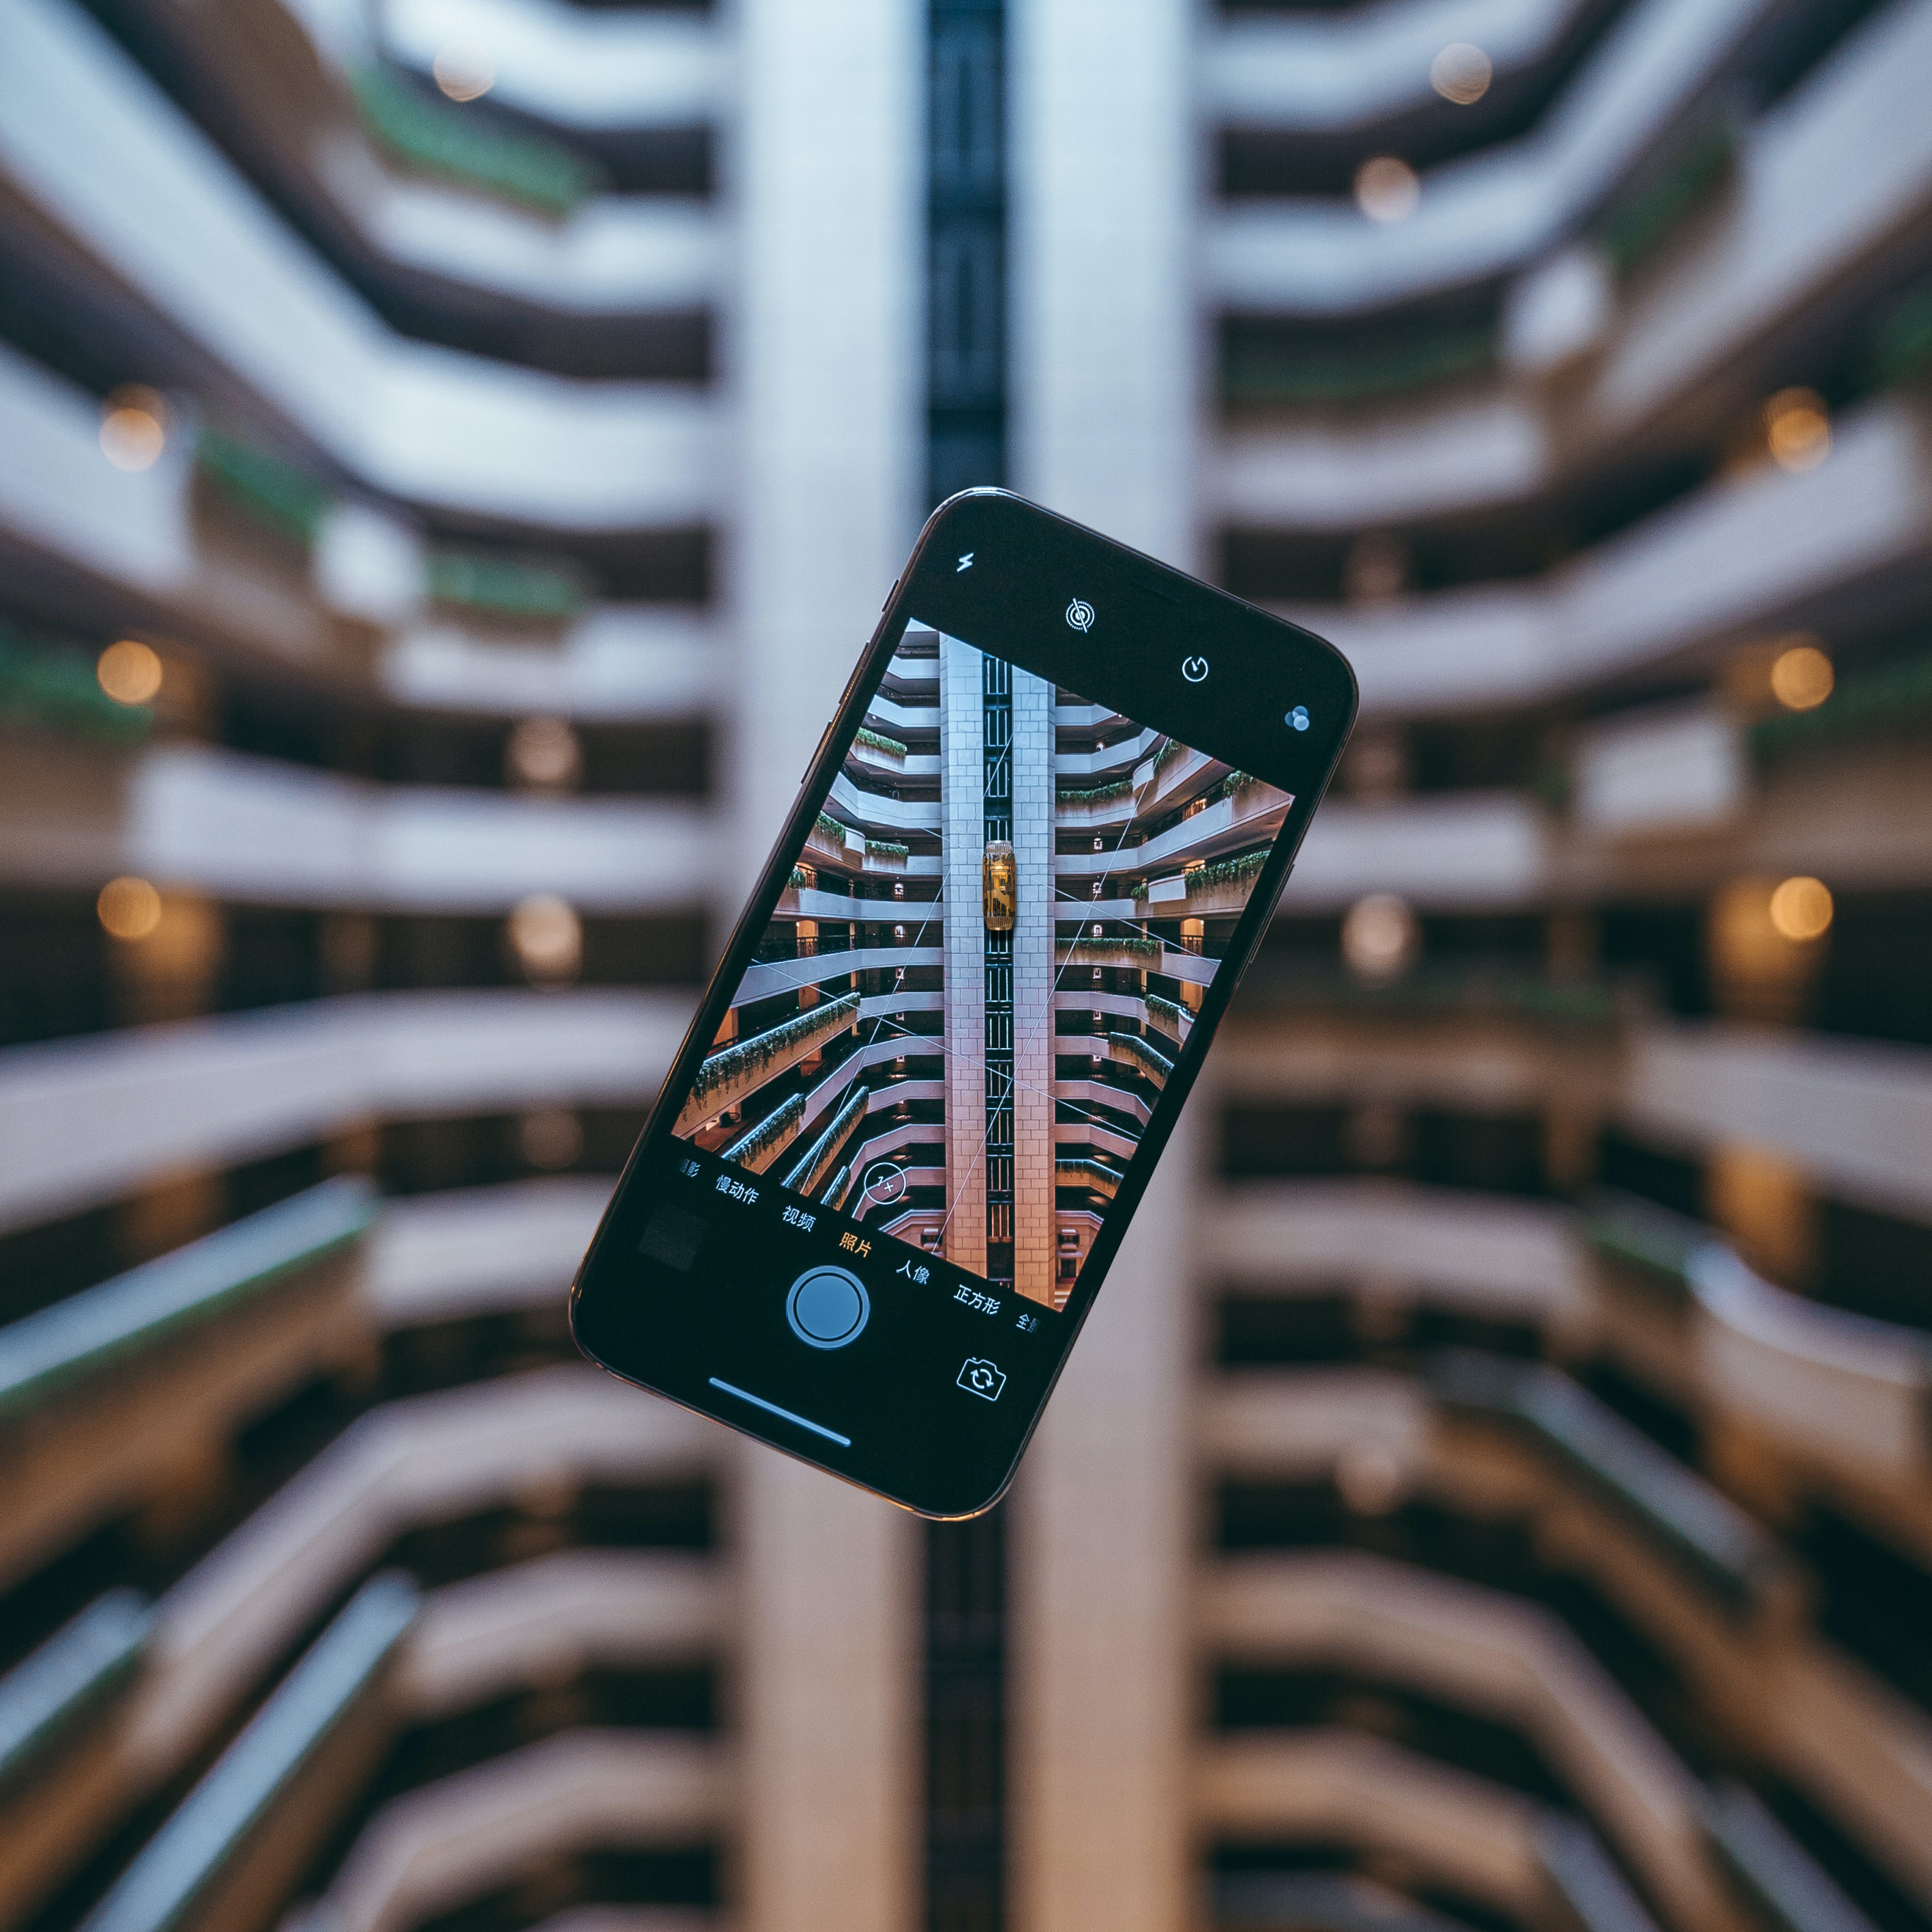
Use the rule of thirds
If you have an iPhone, you can enable “Grid Layout” which separates your camera’s viewfinder image into nine separate, rectangular areas. Those nine areas are divided into three clumps: lower thirds, middle thirds, and upper thirds, thus the name rule of thirds. Whenever you place a name or title in the lower thirds, it means you’re placing it in that segment of the image.
Normally, when you frame your camera, you want the eye level around the upper thirds with the line separating the upper and middle thirds basically segmenting your eye line. Also, make sure you are pretty much in the left third of the image or in the right third of the image.
Use good lighting
Marc Cendella the founder of Ladders says that you should “be well-lit to be well-understood.”
To take this intriguing statement a step further, let’s go back to a sentiment regarding communication: the medium is the message. If your video is backlit, if your face is lit too strongly resulting in your skin radiating (literally!), or if you’re lit in such a way that nods to a noir piece, that’s your message. People will be so distracted by your video that they won’t pay attention to what you’re saying.
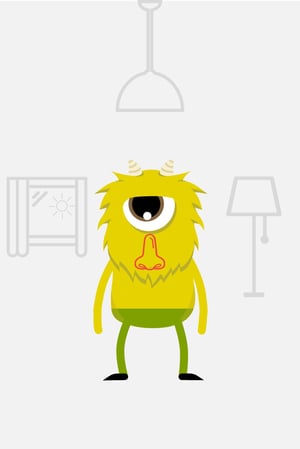
Here’s an easy tip that can help you ensure good lighting: follow the three point lighting system.
This consists of a key light, a fill light, and a back light.
- A key light is the light that is providing the most contrast in your image (i.e., it’s the most prominent or brightest light in your image).
- A fill light does exactly as it says where it fills the image with light so that it can soften objects (including your face).
- A back light highlights your back, but it’s important because it differentiates you from the background so that the image is three dimensional. A back light should not be overpowering like having a window behind you in the background, making you into a silhouette.
As far as equipment goes, a ring light can help your image look professional.
With LED lights making lighting much more affordable, you can invest in some Neewer “barn door” lights that are less than $100. Keep in mind that lighting is all around us and the cheapest form of lighting is the sun. You could easily use the sun as a key light, overhead lighting as a fill, and a lamp as a back light.
Make sure that your lights are the same color temperature.
With actual lighting kits, you have control over the color temperature. Otherwise, next time you go to the supermarket or the hardware store, you can look at the bulbs you buy and they will tell you the color temperature of the bulbs you have. Color temperature ranges from warm (inviting red hues) to cold (brilliant blue hues).
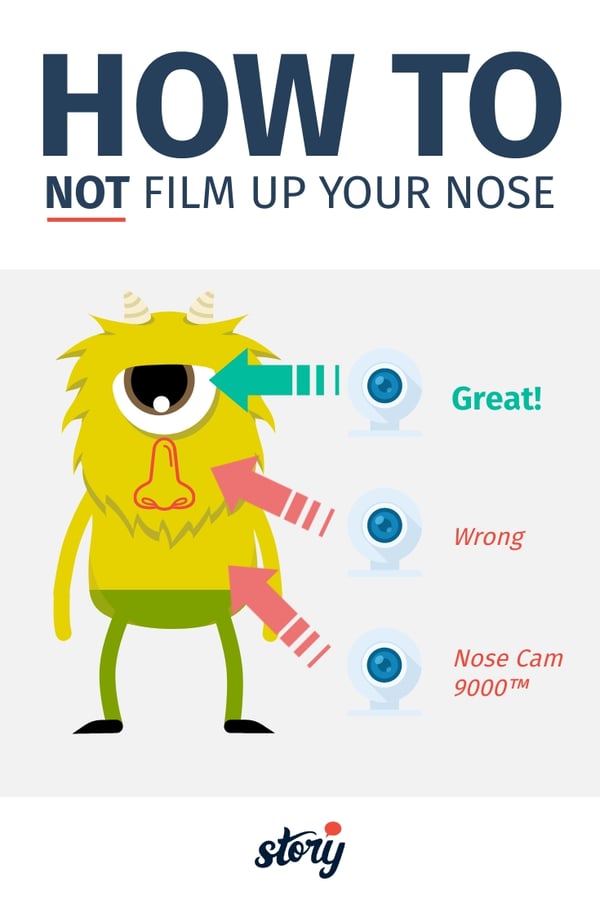
Graduate from “The Nasal Academy”
Me watching on a video call with someone who is using their mobile device or a laptop that is angled upward:
The structure is intimidating as I start up the path. Trusty whip in hand, I’m determined to go into that thick jungle and retrieve the Golden Statue that belongs in a museum. The entrance to the passage is split into two paths, covered in choking vines, a labyrinth of peril. The entrance to the passage suddenly begins to move!
And that’s when I wake up from my daydream and realize that I’m not Indiana Jones, but that I’ve been imagining someone’s nose as a great stone edifice to explore.
Last but not least, stop filming up your nose.
Graduate from “The Nasal Academy” by making sure that the camera isn’t looking up your nose. If your nose looks abnormally elongated like Gru from Despicable Me, you may have a problem. You may protest, “but I’m following the rule of thirds, so where am I going wrong?” The problem is that the angle of your camera on your laptop/desktop/phone is not at your eye level. It could be at an angle not perpendicular to the floor or it simply isn’t at the height of your eyes. Thus, Nose Cam 9000. So get a stack of books, change the angle of the webcam, or get a tripod and undergo a rhinoplasty.